


In this tutorial I’ll show you the step-by-step installation of Active Directory on Windos Server. But first let’s briefly understand what Active Directory is and its main function.
Active Directory centrally gathers the information of a given computer network, this information can be users, computers, printers, servers, etc. It gathers this information in its database in order to carry out a centralized administration of the network.
Example: let’s say a company has 50 workstations, to create users for employees to use these workstations, we would have to go locally to each workstation to create the user, and they would only be able to use the workstation on which they created the user, on the others they would not be able to log in, unless they created the local user on that new workstation as well, with Active Directory we can manage this centrally, AD creates a domain where we enter all the workstations, and all we have to do is create the user in AD so that he can access any workstation in the company, without having to create users locally on each computer, we can also create various usage policies to restrict access to unwanted locations, AD not only performs this task but also has various other important functions for administering a centralized network.
Installing AD is simple, let’s go through the steps, first open the Server Manager and go to the Manage option and click on Add roles and resources as shown in the image below, it is important that the operating system is up to date before starting the installation.

The next screen will display a message from the installation wizard, read it and select the checkbox “ignore this page by default”, on the next screen select the option “Installation based on function or feature” as shown in the screen below, and click next.

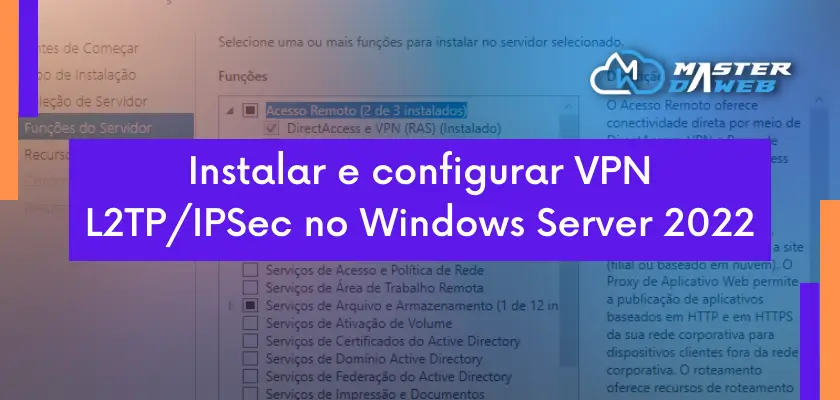
On the next screen, select the server for which you want to install the function, in our case there is only one server, select it and click next.

On the next screen, select the “Active Directory Domain Services” checkbox, a second screen will open, click on add resources and then next.

The next screen is a brief description of the Active Directory Domain services, read it to get to know them and click next, then you will be presented with a screen to confirm the installation, just click on the install button and wait for the installation to finish.

When the installation is complete, click the Close button to end the installation.

When the installation is complete, an exclamation mark will appear on the server manager screen next to a flag symbol, located between the manage button and the flag, click on the flag and then on “Promote this server to a domain controller”.

A deployment configuration screen will open, select the “Add a new forest” checkbox in the field below, specify the name you want to put on your domain and click next.

On the next screen create a restore password, this is in case you need to restore your domain, click next.

The next screen will show the options for the DNS server, AD does not work without a DNS server, it is a requirement for AD to work, just click next and the installation and configuration of the DNS server will start automatically, a new “Additional Options” screen will appear, also click next, on the next screen which is “Paths”, also just click next, on the “Examine Options” screen also click next, and finally the “Prerequisites” screen click install to complete the installation.

After this step, the AD installation is complete and you can now use and enjoy all the facilities that Active Directory can offer.