Port forwarding in Pfsense

In this guide, we will present a step-by-step process to configure traffic routing from your VPS to the private network, allowing the use of a public IP in the local environment efficiently and securely.
Installing pfSense on the VPS
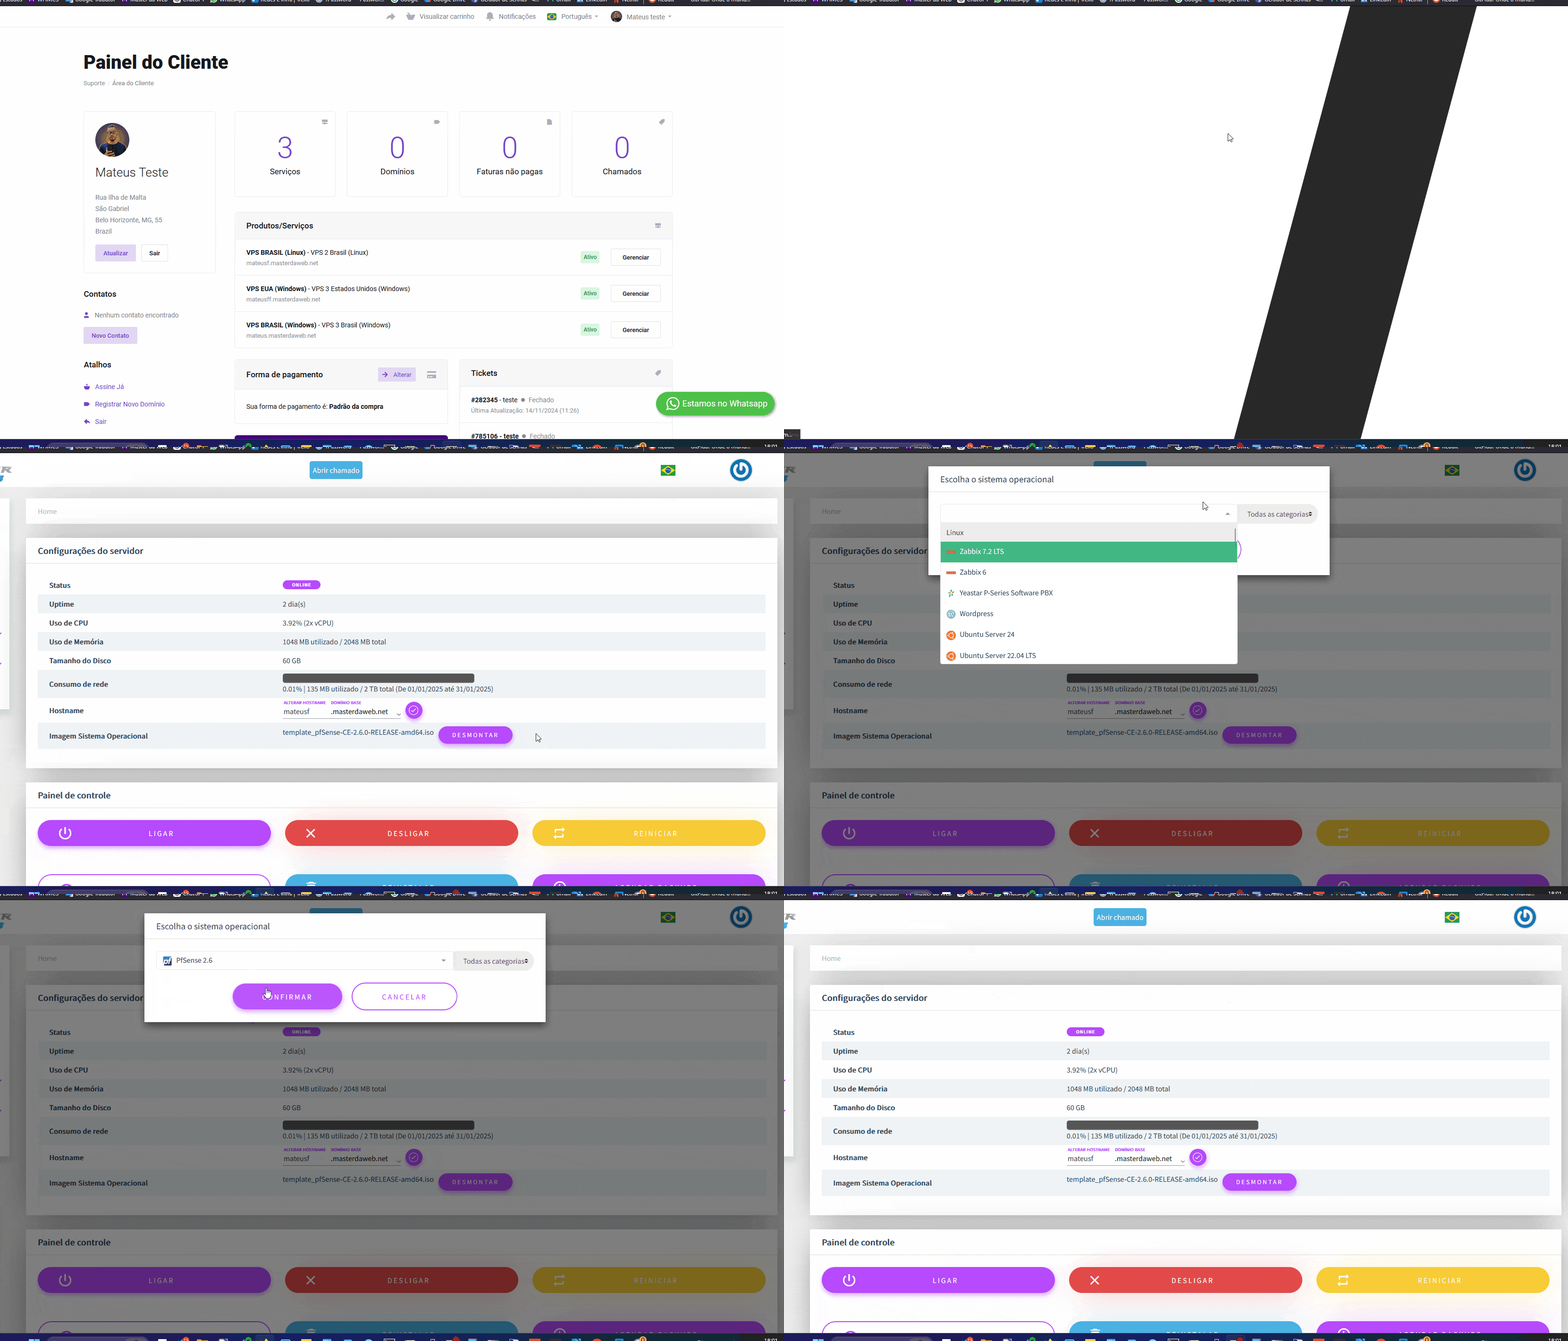
Installation email You will receive an email with a link that will redirect you to the pfSense installation screen.
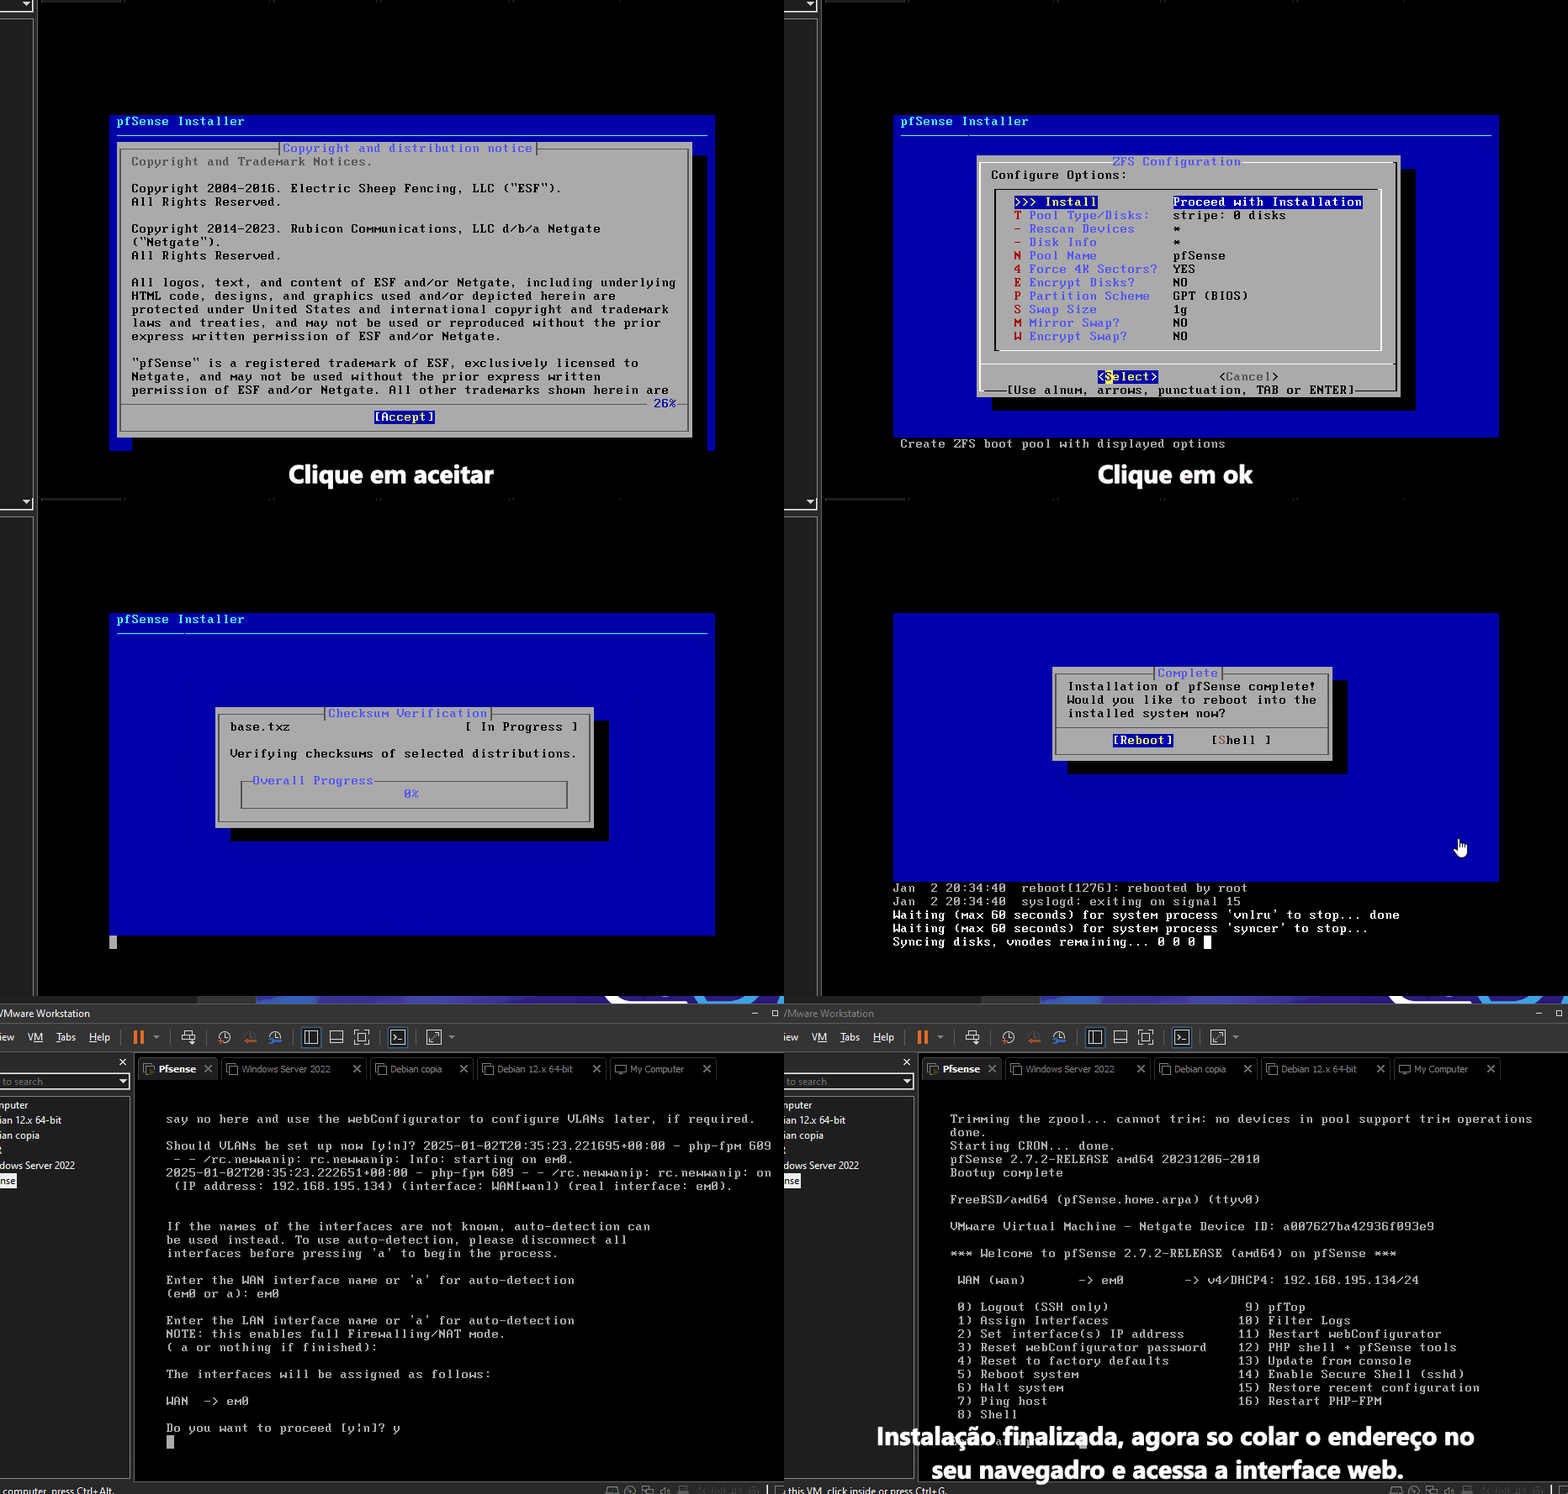
First login After the installation, access pfSense using the default credentials:
- Username:
admin - Password:
pfsense
Immediately change the credentials

1. Click on Change Password in the User Manager.

2. Enter the password

3. Enter the password again

4. Click on Save

Creating Firewall Rules
To avoid losing access when making changes to the interfaces, create a rule in the firewall:
1. Clique em Firewall

2. Clique em Regras

3. Clique em Adicionar

4. Select the WAN address

5. Selecione HTTP (80)

6. Clique em Salvar
1. Click on system

Changing the language
If you prefer, you can change the language to Portuguese (Brazil):

2. Click on General Setup

3. Select Portuguese (Brazil)

Click without saving.
1. Click on System

2. Click on Update

Configuring OpenVPN
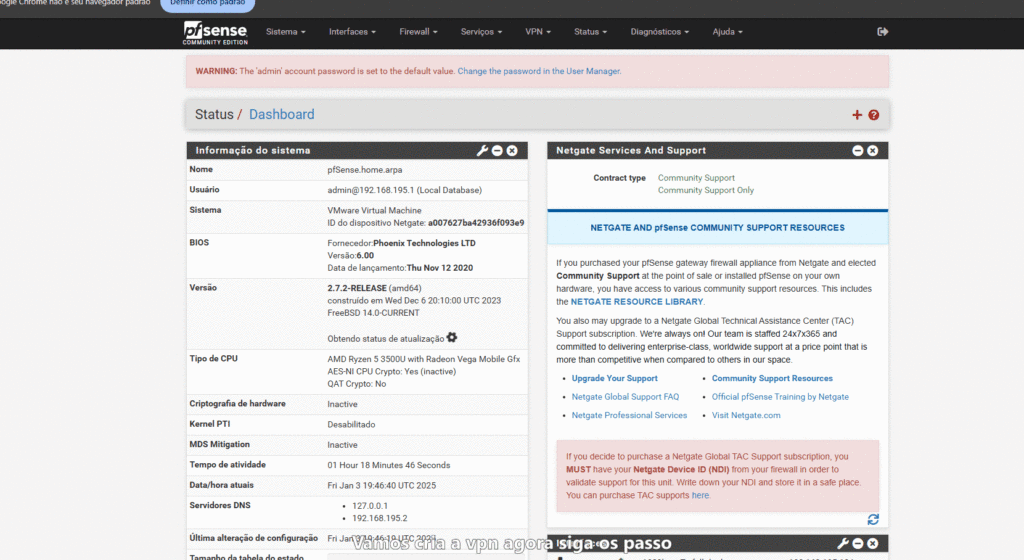
Create a VPN interface
Configure a new interface for the VPN
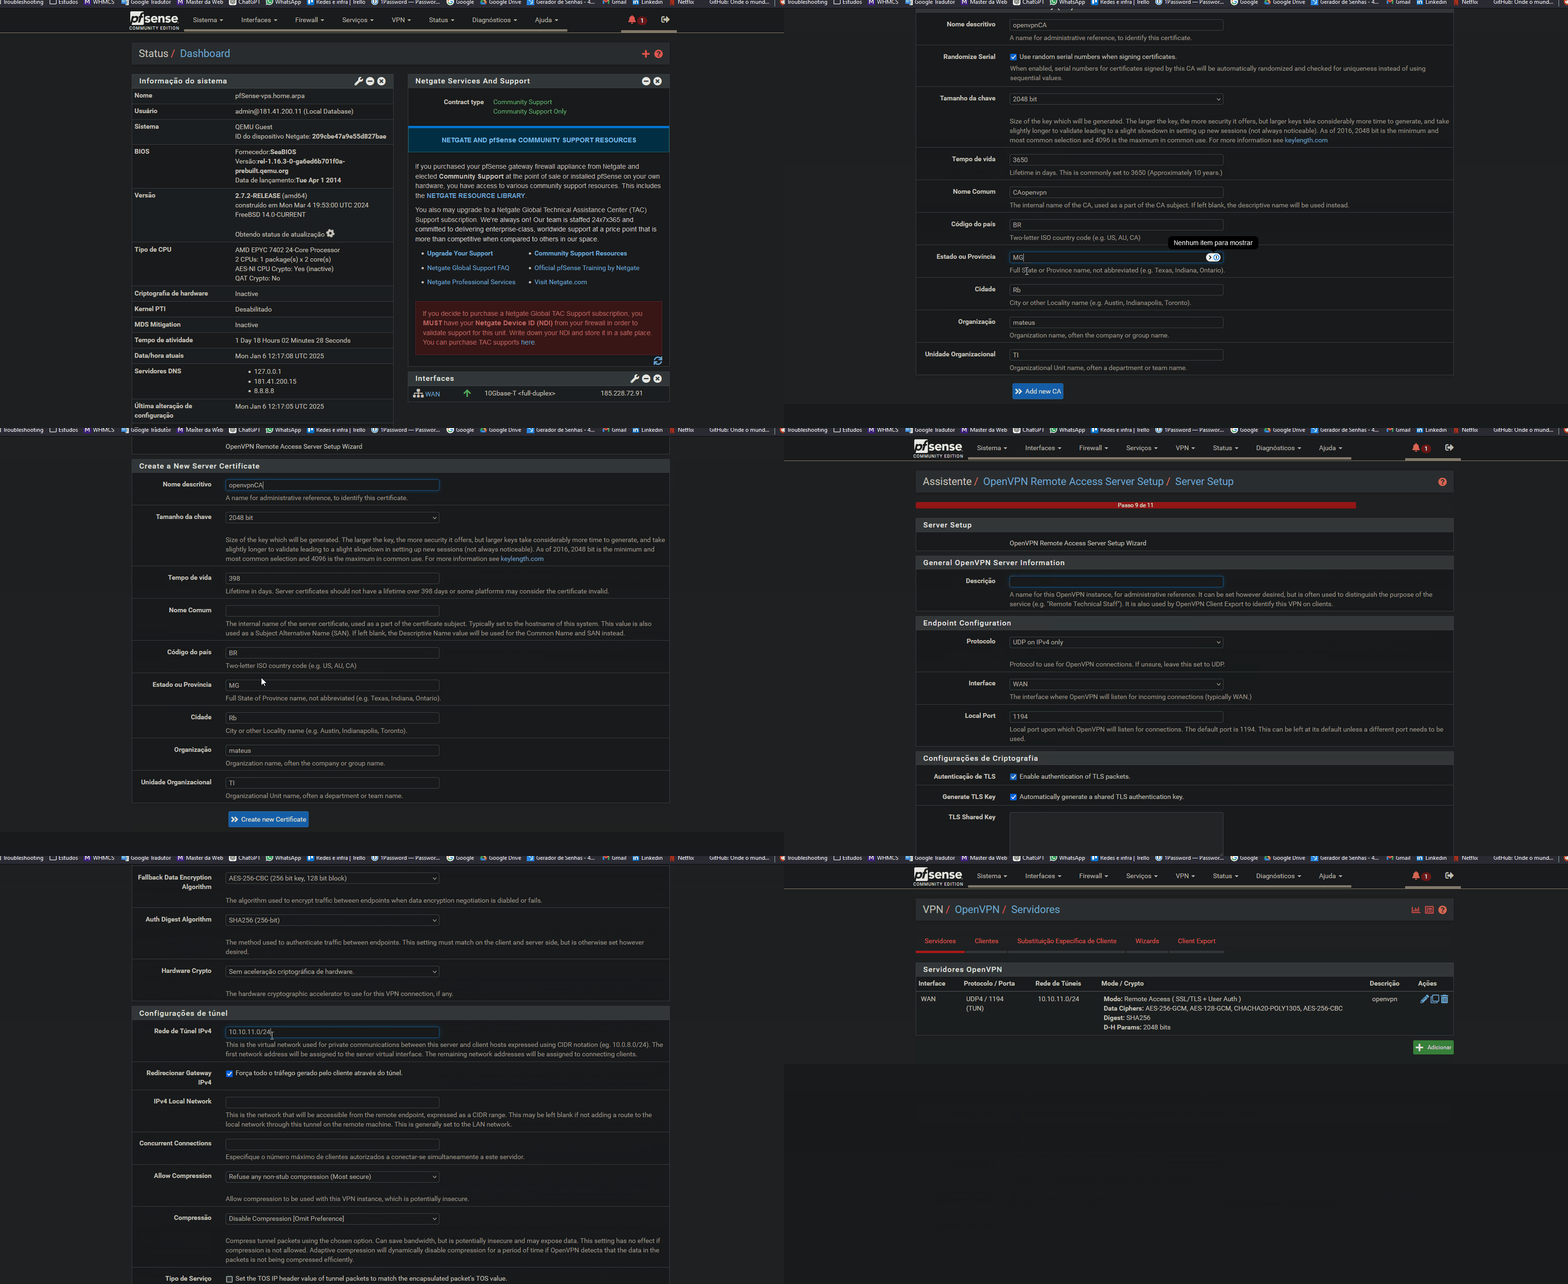
Create a user profile
Configure a specific profile for the VPN user.
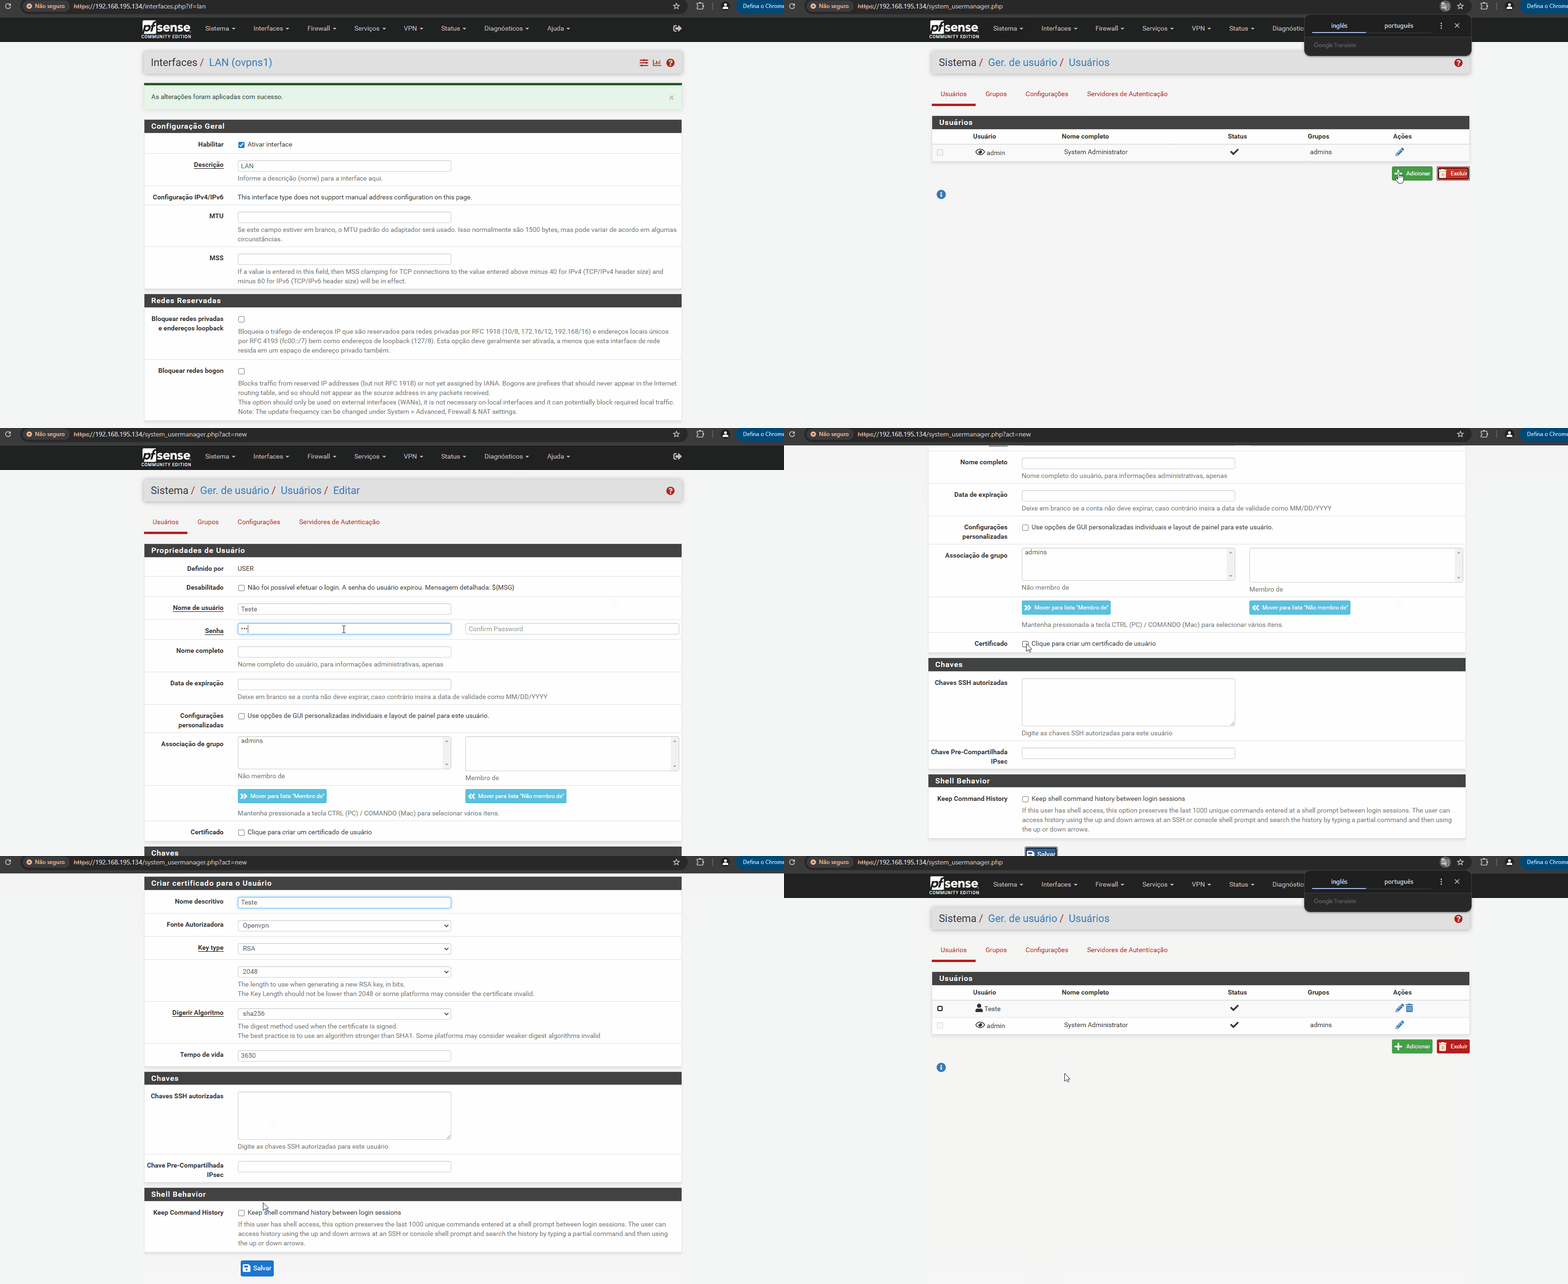
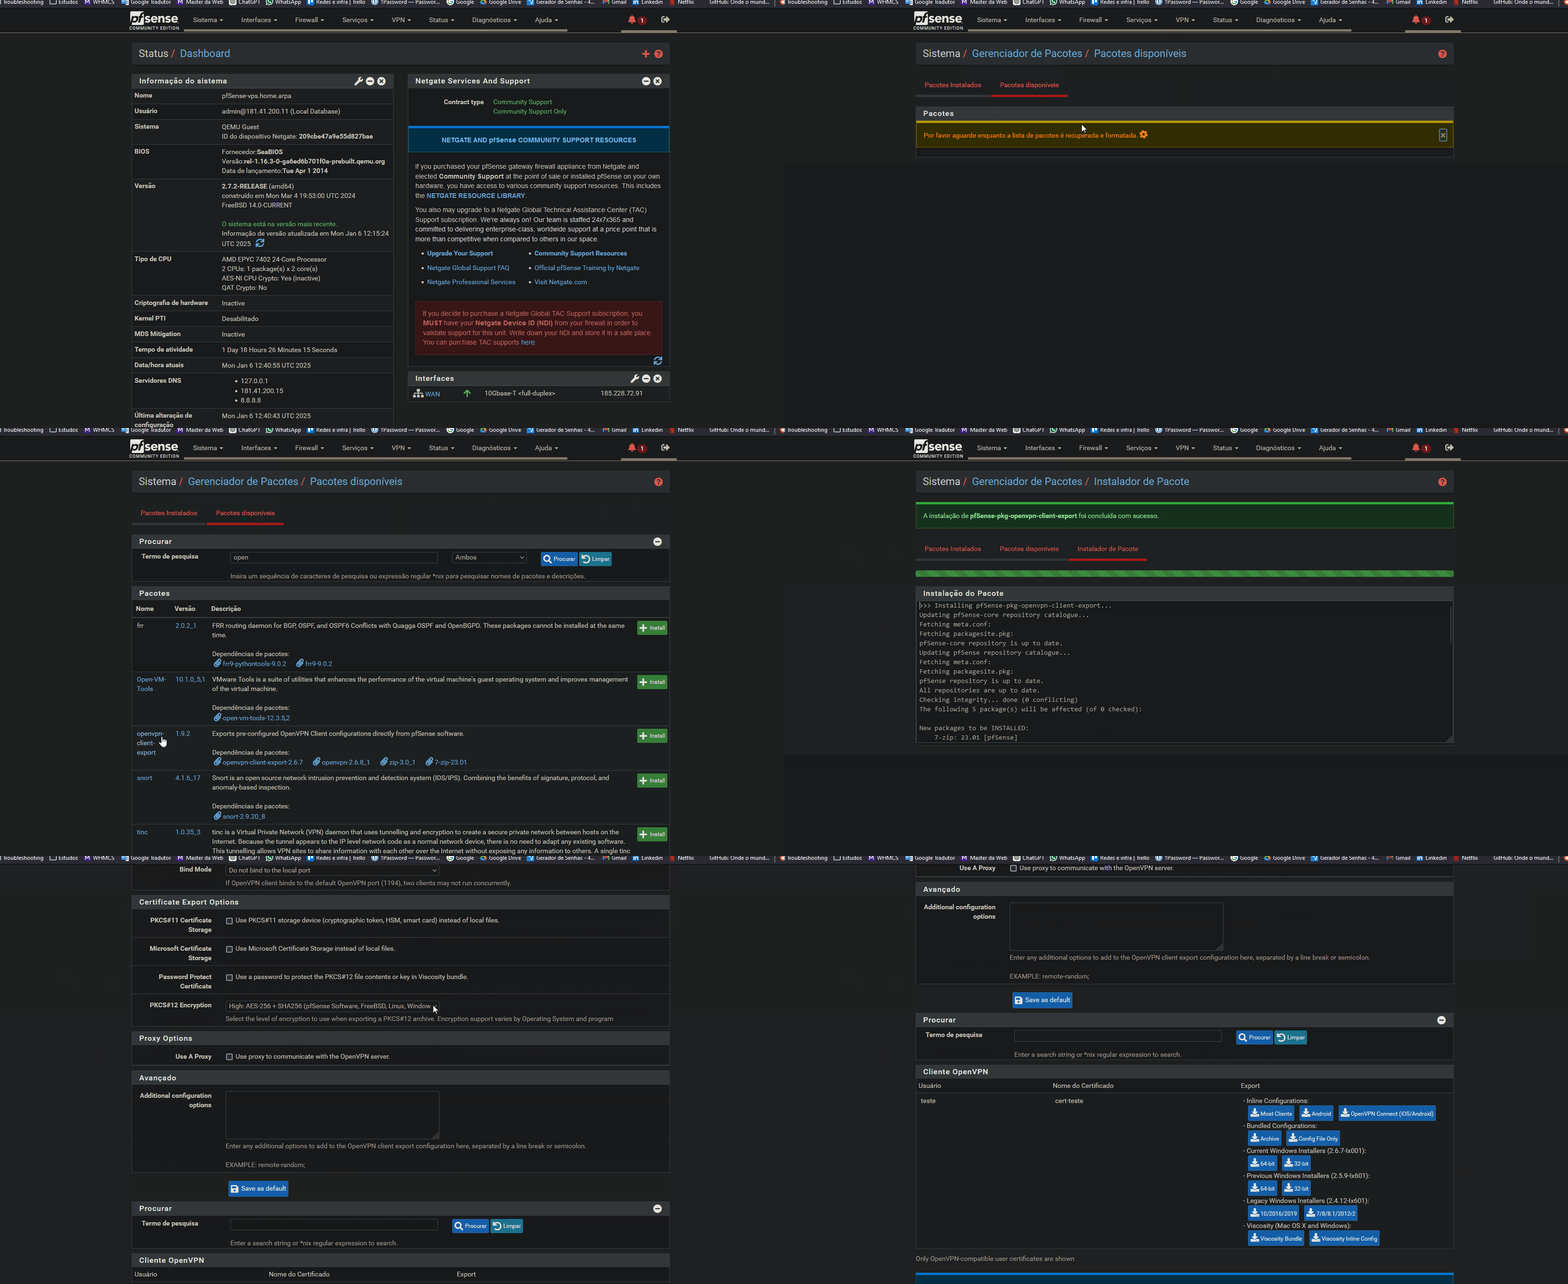
Download the OpenVPN client file
After configuration, download the OpenVPN client file for use on the local device.
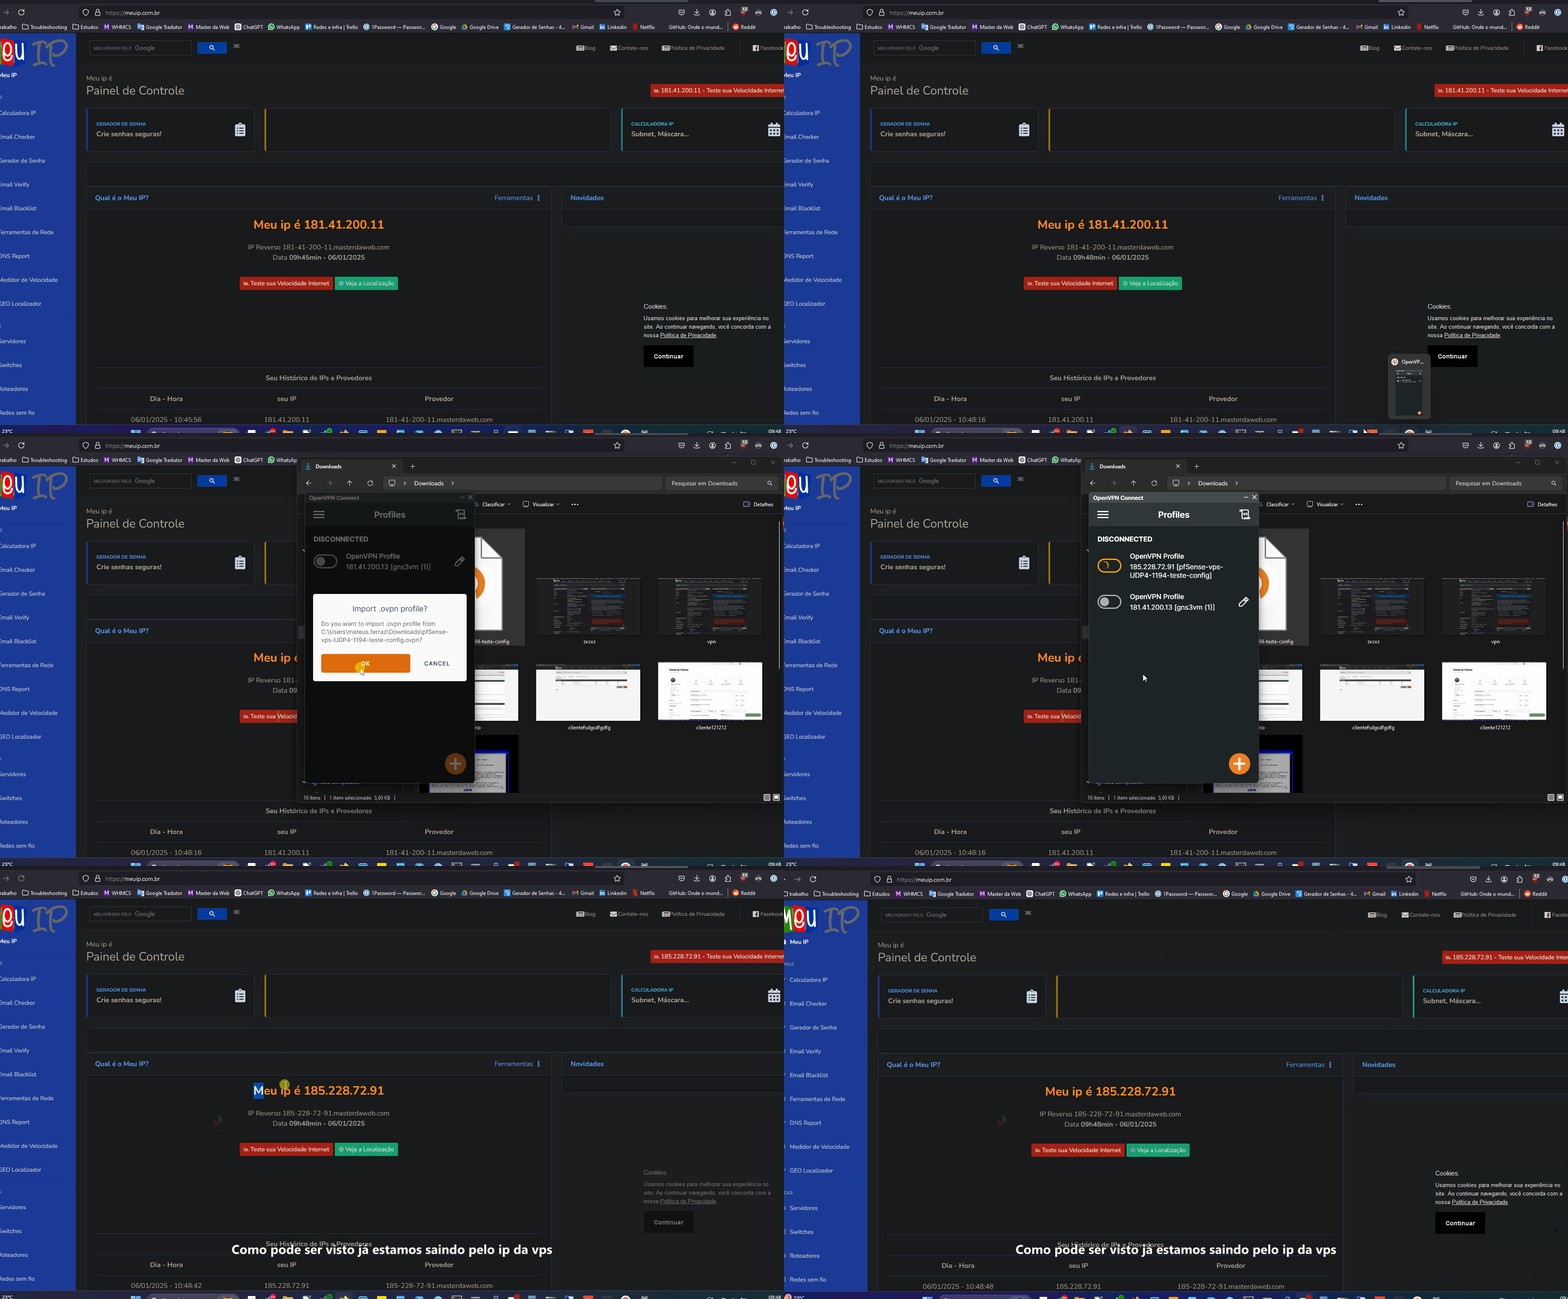
Port Forwarding
Here the traffic is already being redirected.
Port forwarding is essential to access local services from the VPS.
Here is an example to forward the RDP (Remote Desktop Protocol) port:
Configure the forwarding in the pfSense panel. Direct the specific ports to the local IP of the desired machine. Test access to ensure the service is working correctly.
