Windows Server: with or without a License?

Introduction
Windows Server is the most widely used operating system in companies and data centers that rely on Microsoft environments. It offers essential features such as Active Directory (AD), IIS (web server), Hyper-V, Remote Desktop Services (RDS), among others.
But a recurring question among IT administrators and managers is: is it worth using Windows Server without a license? And, mainly, what is allowed by Microsoft in this condition?
In this article, we will clarify the main differences between using Windows Server with and without a license, explain the limitations and risks of each scenario, and help you make the right decision for your environment.
What is Allowed (or not) without a License
When installing Windows Server without entering a product key, the system operates in evaluation mode (trial, normally valid for 180 days). During this period, all functionalities are available, allowing administrators to test features before purchasing the license.
After the deadline expires, the system continues to function, but with limitations:
- Windows Server displays frequent activation notifications.
- Prevents integration with Active Directory (AD) or locks administrative features.
- Some security updates stop being applied.
- Features like Remote Desktop Services (RDS) may be disabled or limited.
- System customization (such as wallpaper and visual settings) is blocked.
- The company’s legal compliance is compromised, which may result in fines and sanctions in audits.
Additionally, using Windows Server without a license in a production environment is prohibited by Microsoft’s terms, being acceptable only for testing or temporary laboratories.
Advantages of Having the Official License
Acquiring a legitimate Windows Server license brings several practical and strategic benefits:
- Legal compliance: avoids penalties and ensures regularity in software audits.
- Microsoft support: access to updates, hotfixes, and official technical support.
- Continuous security: vulnerability patches and automatic fixes keep the system protected.
- Guaranteed stability: legitimate licenses ensure system integrity and hardware compatibility.
Having a license is not just a legal requirement, it is also an investment in the security and operational continuity of your infrastructure.
Comparison Table: with vs without License
| Aspecto | With license | Without license (trial mode or not activated) |
| Legality | 100% compliant with Microsoft policies | Restricted and illegal use in production |
| Security updates | Receives regularly | Suspended after evaluation period |
| Technical support | Available from Microsoft | Not available |
| RDS and Hyper-V features | Complete and permanent | May be disabled after trial |
| Audit risk | None | Elevado, com possibilidade de multas |
| Customization and activation | Free and permanent | Visual restrictions and constant alerts |
how to Acquire a VPS with Windows Server Licensed by Master Da Web?
For those who want to host VPS or dedicated servers with Licensed Windows Server, Master da Web stands out as one of the best options in the market.
Why choose Master da Web?
- State-of-the-art infrastructure: The Master Web datacenter uses high-performance servers with NVMe storage, ensuring speed and stability in all VPS instances.
- Advanced security: Protection against DDoS, automatic backups, and continuous monitoring.
- Specialized technical support: The web master has a fully specialized team available from 08:00 to 17:00 via WhatsApp and phone, and 24/7 via ticket.
- Flexible plans: VPS plans are adaptable to your needs, from small projects to large corporate solutions.
- Trial period: 7-day trial period for VPS 1 and 2 Linux and 2 and 3 Windows, to test if the VPS meets your needs or has the necessary configurations.
Step by Step to Acquire your VPS with Licensed Windows Server with Master Da Web
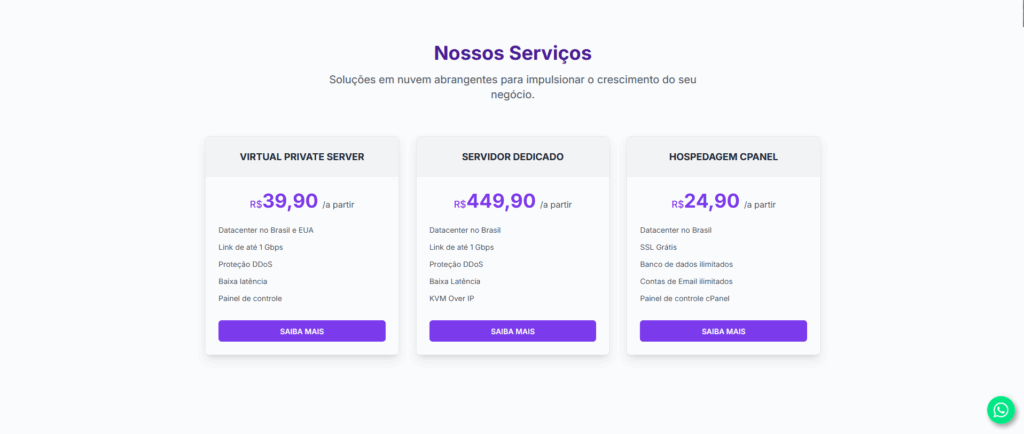
Step 1: Visit the official Master da Web site at masterdaweb.com. Upon entering the homepage, scroll down until you find the “VPS (Virtual Private Server)” card. When you find it, click on “Learn More” to be directed to the specific VPS servers page.
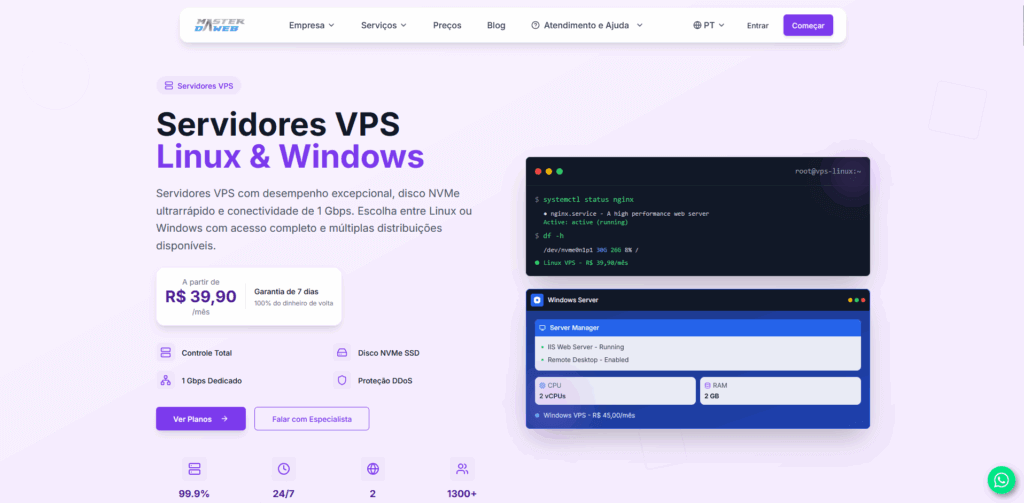
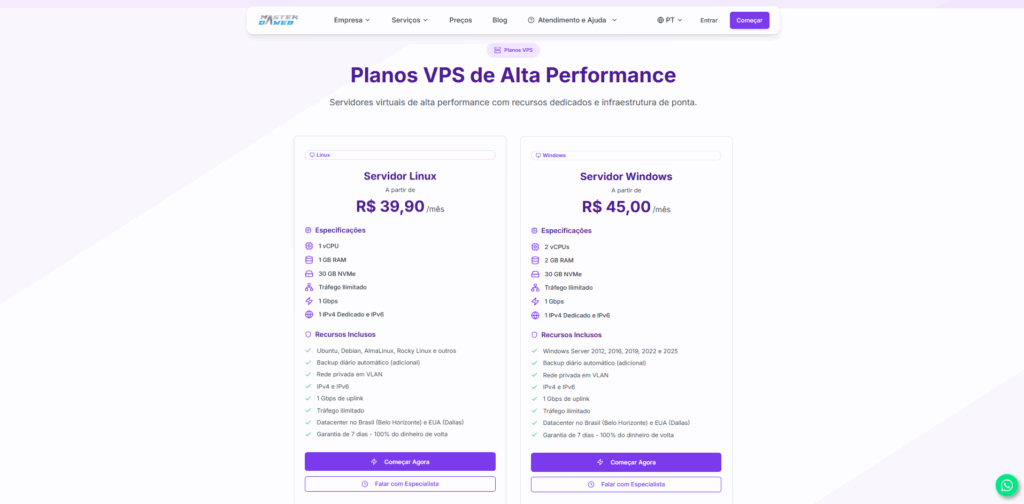
Step 2: On the VPS page, click on “View Plans”. You will be automatically redirected to the plans section. In the “VPS Windows” card, click on “Get Started”.
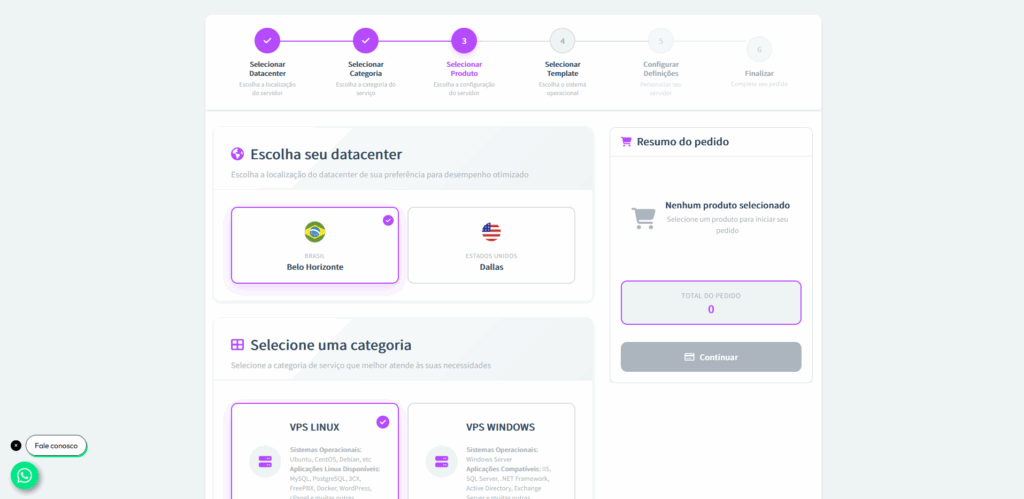
Step 3: On the contracting page, choose the desired datacenter. Then, select the “VPS Windows” category.
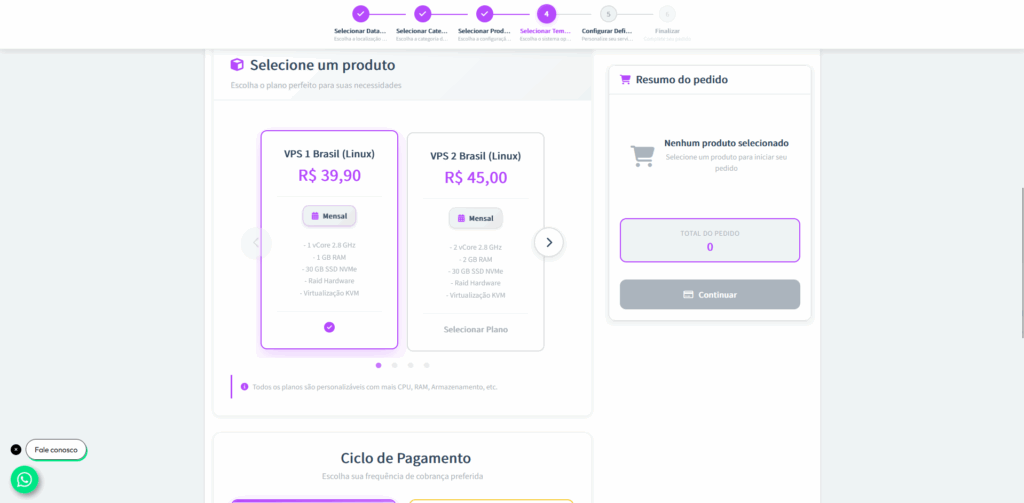
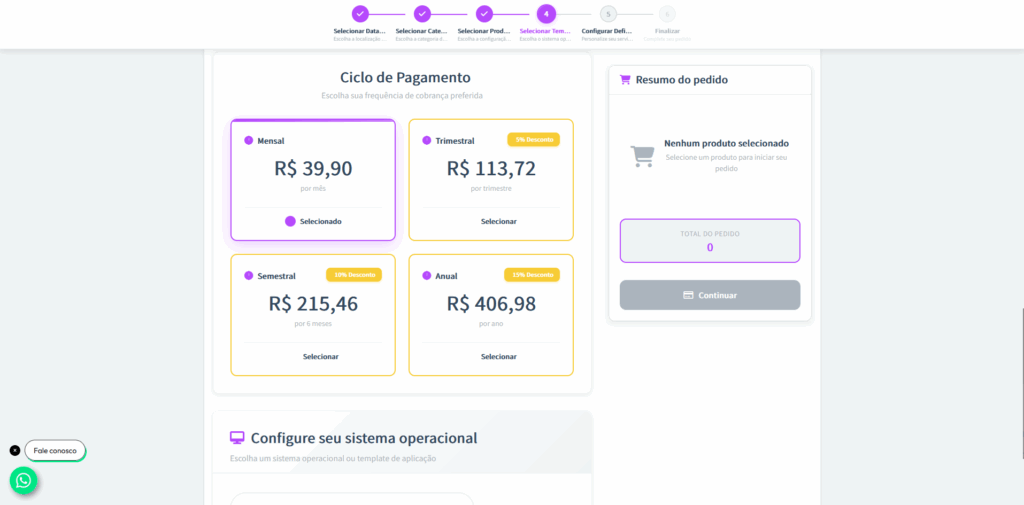
Step 4: Now, choose the VPS type that best meets your needs. Then, select the payment cycle (monthly, quarterly, semi-annual, or annual).
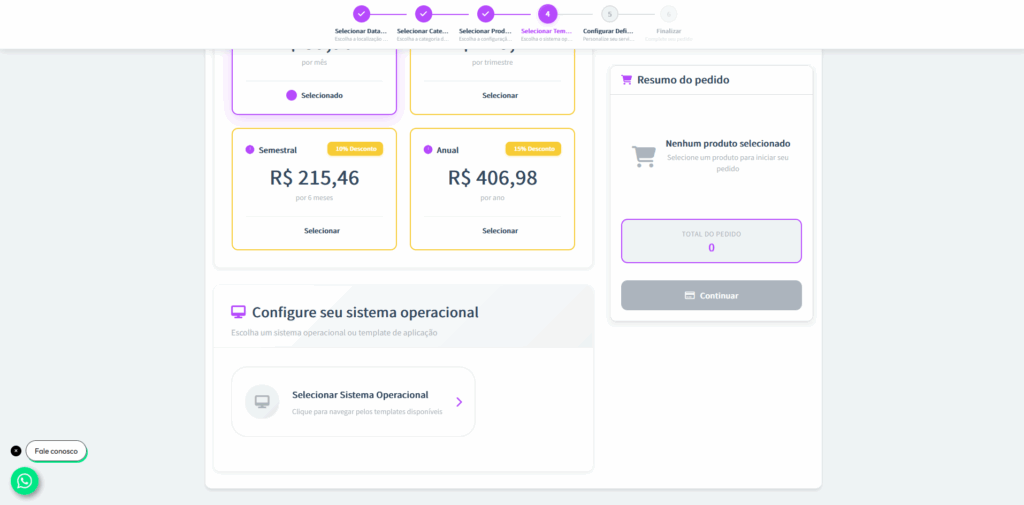
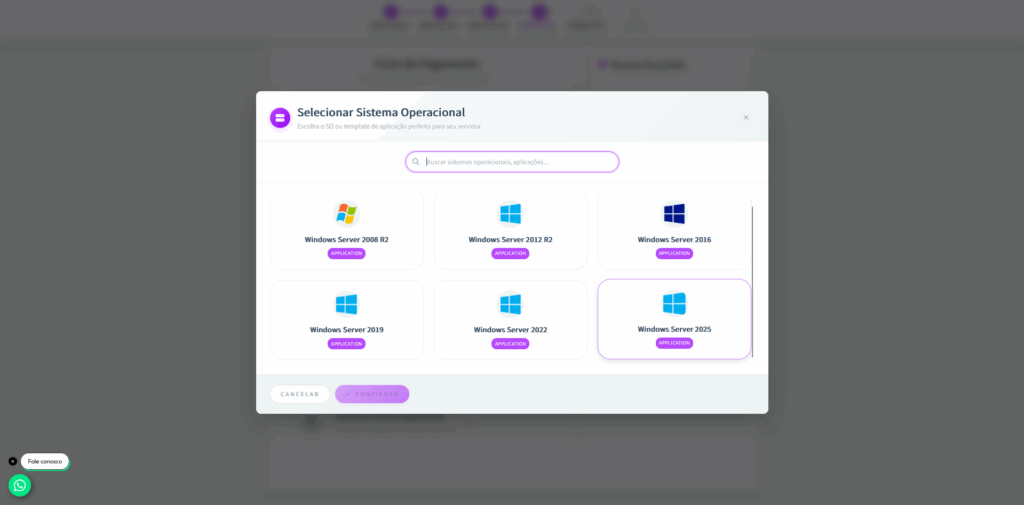
Step 5: Next, define the Operating System for your VPS. In this case, choose the Windows Server version that best suits you and then click Select.
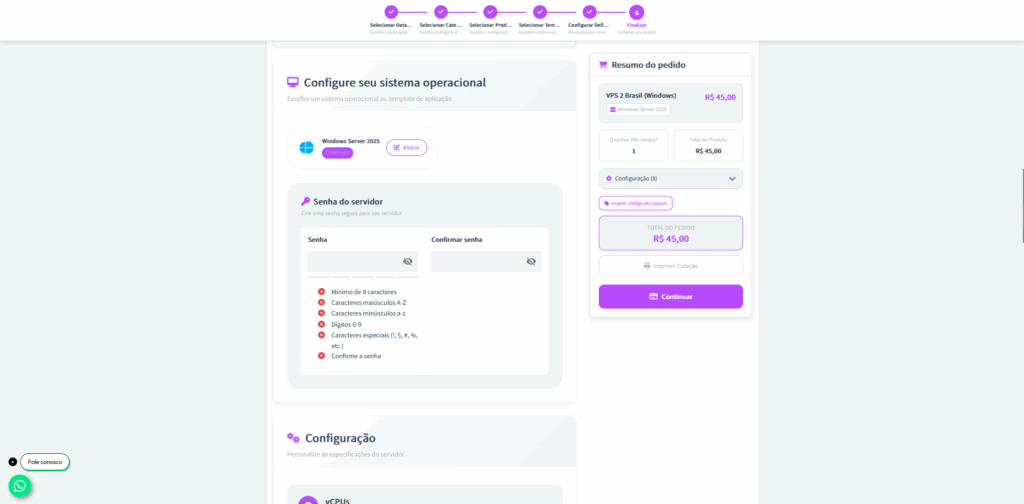
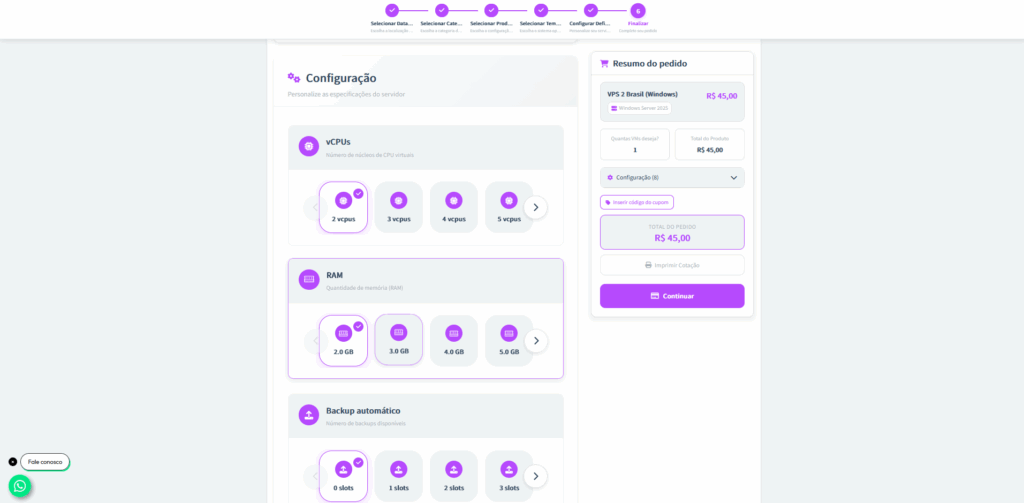
Step 6: Create an access password for your VPS. Right after, you can customize the specifications of the server, adjusting resources such as vCPUs, RAM memory, storage, and other configurations according to your needs.
Step 7: In your VPS settings, enable your license.
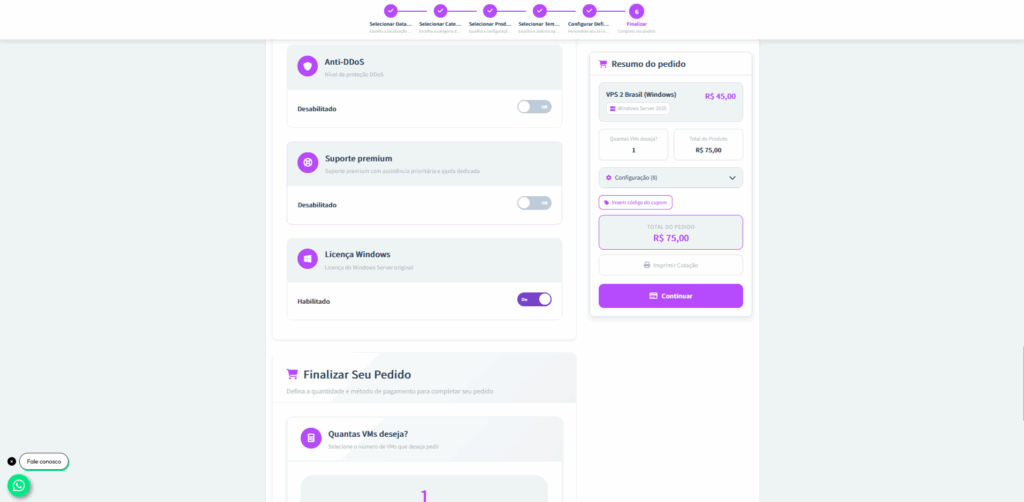
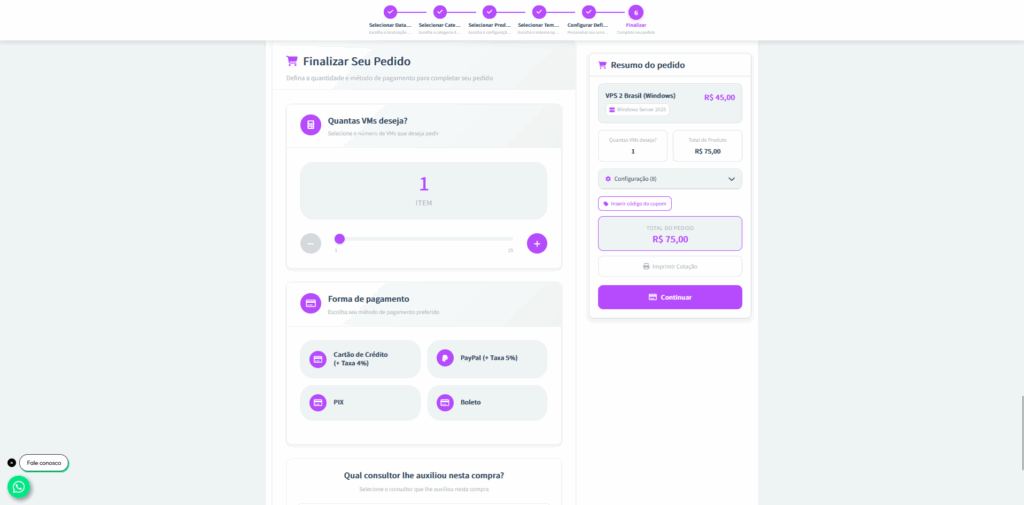
Step 8: After customization, choose how many VMs (Virtual Machines) you want to contract and define the payment method.
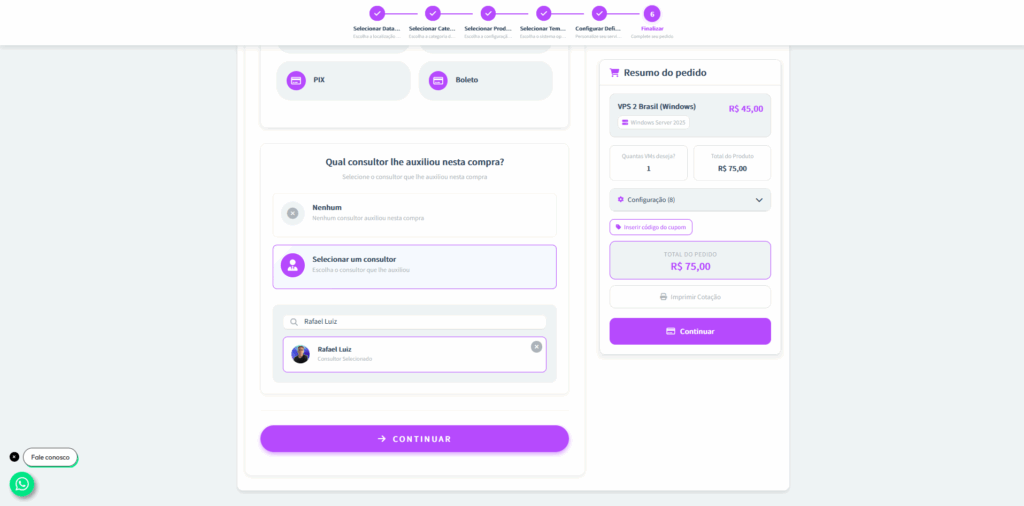
Step 9: If during the contracting process you were assisted by any Master da Web consultant, this is the time to select them. This way, the responsible consultant will receive due recognition for the service provided.
Step 10: After payment is confirmed, the VPS will enter the configuration and production process. Once ready, you will receive a
Conclusion
Using Windows Server without a license may seem like a viable temporary solution, but it quickly becomes a threat to security, stability, and legality of the operation.
For those who work professionally with servers, whether in a company, hosting provider, or corporate environment, the official license is indispensable. In addition to ensuring legal peace of mind, it ensures full system functionality and continuous access to critical security updates.