Using ISO to reinstall your VPS system

One of the new features we brought to our site was the ISO upload that many people had been waiting for.
This improvement has been made so that you can install an operating system of your choice that we didn’t list when you purchased the service.
Today I’m going to show you how to use this feature. it’s quite simple:
In our Client Control Panel, above the Power On, Power Off and Restart options, you’ll notice that we’ve added another quadrant, called ISO Upload, where we’ll make all the settings.
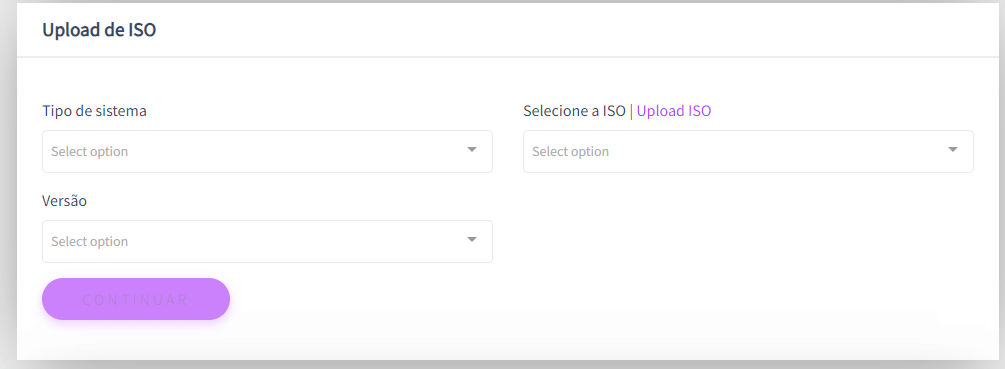
The first option we’ll look at is System Type, where we’ll select the base of our OS (Operating System).
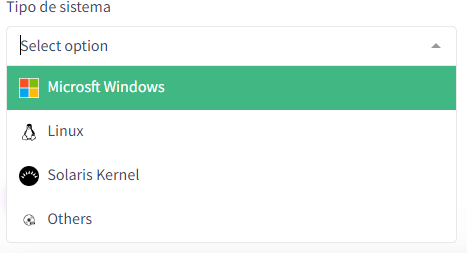
In our example, we will select Microsoft Windows.
After that, let’s change the Version option, in this example I will upload the Windows 11 image.
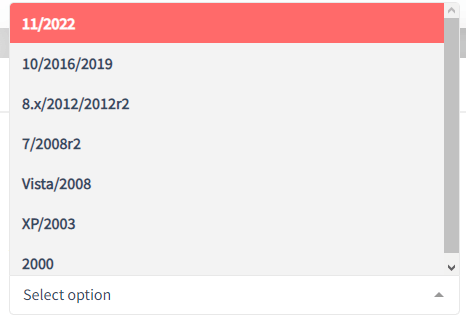

After changing these options, we’ll move on to the main part, uploading the image, just click on the “Upload ISO” button

When you click on this option, a new modal will open and in it you will first have to click on “Choose file” to upload the ISO, which will then open the explorer for you to select the ISO for your Operating System (in the example, Windows 11).
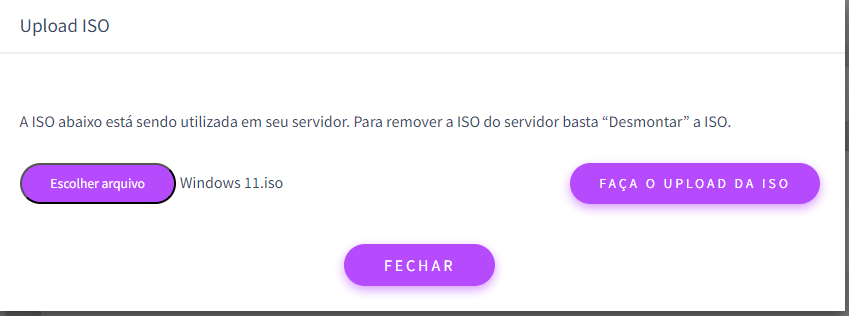
After that, just go to the Upload ISO option and it will be sent to our server and will boot up on your machine, so you can install it.
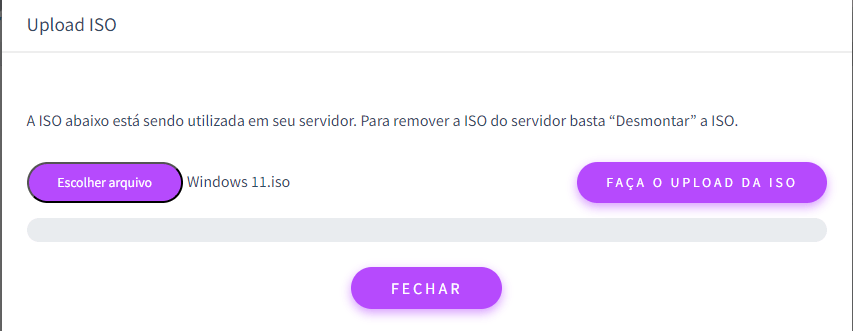
This process depends a lot on your internet connection and the size of the image, but you can follow the progress using the progress bar and the percentage.
Some information that should also be taken into account is that once a customer uploads an ISO, it will be available for them to use again.
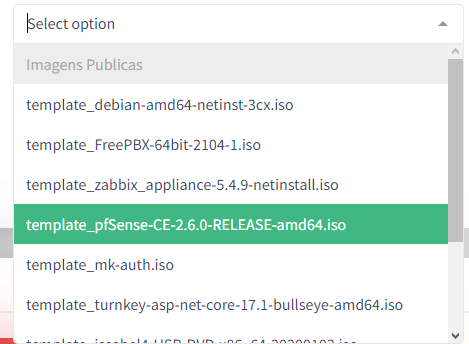
It’s also important that you take a look at the list of ready-made ISOs, both public and private.
I hope I’ve helped you with this tutorial, see you next time!