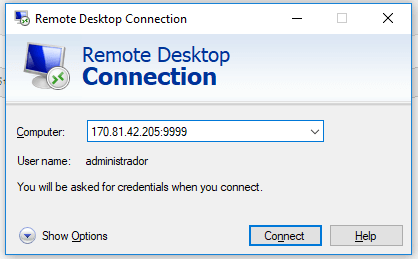
Some Windows administrators often change the default RDP port (3389) to another port in order to prevent brute force attacks.
How do I change the default RDP port (3389)?
Before changing the default Remote Desktop Procol (RDP) port 3389, it is important that the new port you are going to put in IS OPEN IN THE FIREWALL.
In our example we will change the default RDP port from 3389 to 9999. To do this, follow this port opening tutorial to open TCP port 9999:
Open ports in Windows Firewall
Once TCP port 9999 has been opened in the Firewall (following the tutorial above), we will continue with changing the default port 3389. To change the default port, we just need to change a record in REGEDIT:
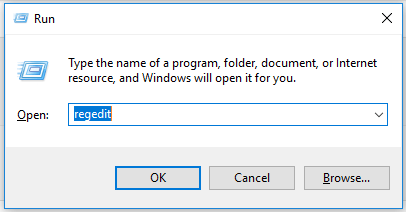
Go to regedit:
Now we will locate the following record:
HKEY_LOCAL_MACHINE\System\CurrentControlSet\Control\Terminal Server\WinStations\RDP-Tcp\PortNumber
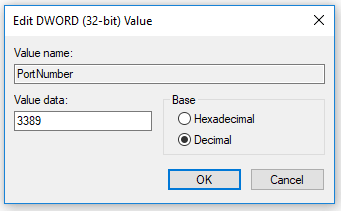
Change the base to Decimal, as in the image above. And in the “Value data” field, simply change it to the desired port.
After making the change, restart the machine.
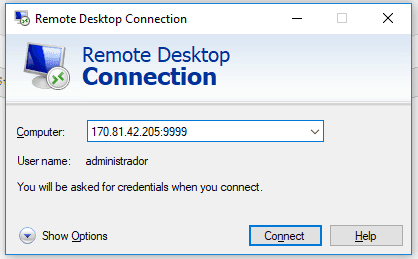
That’s it! To access RDP, simply put the port number you have chosen in front of the IP: